Pages

Friday, 14 March 2014

Wedding Cards

For this weeks post I had planned on another video tutorial but the week has been a bit hectic so I haven't had a chance to do the video yet. Instead I will be sharing what I have been busy making this week.

We are off to a family wedding at the weekend so this is my theme for the week.
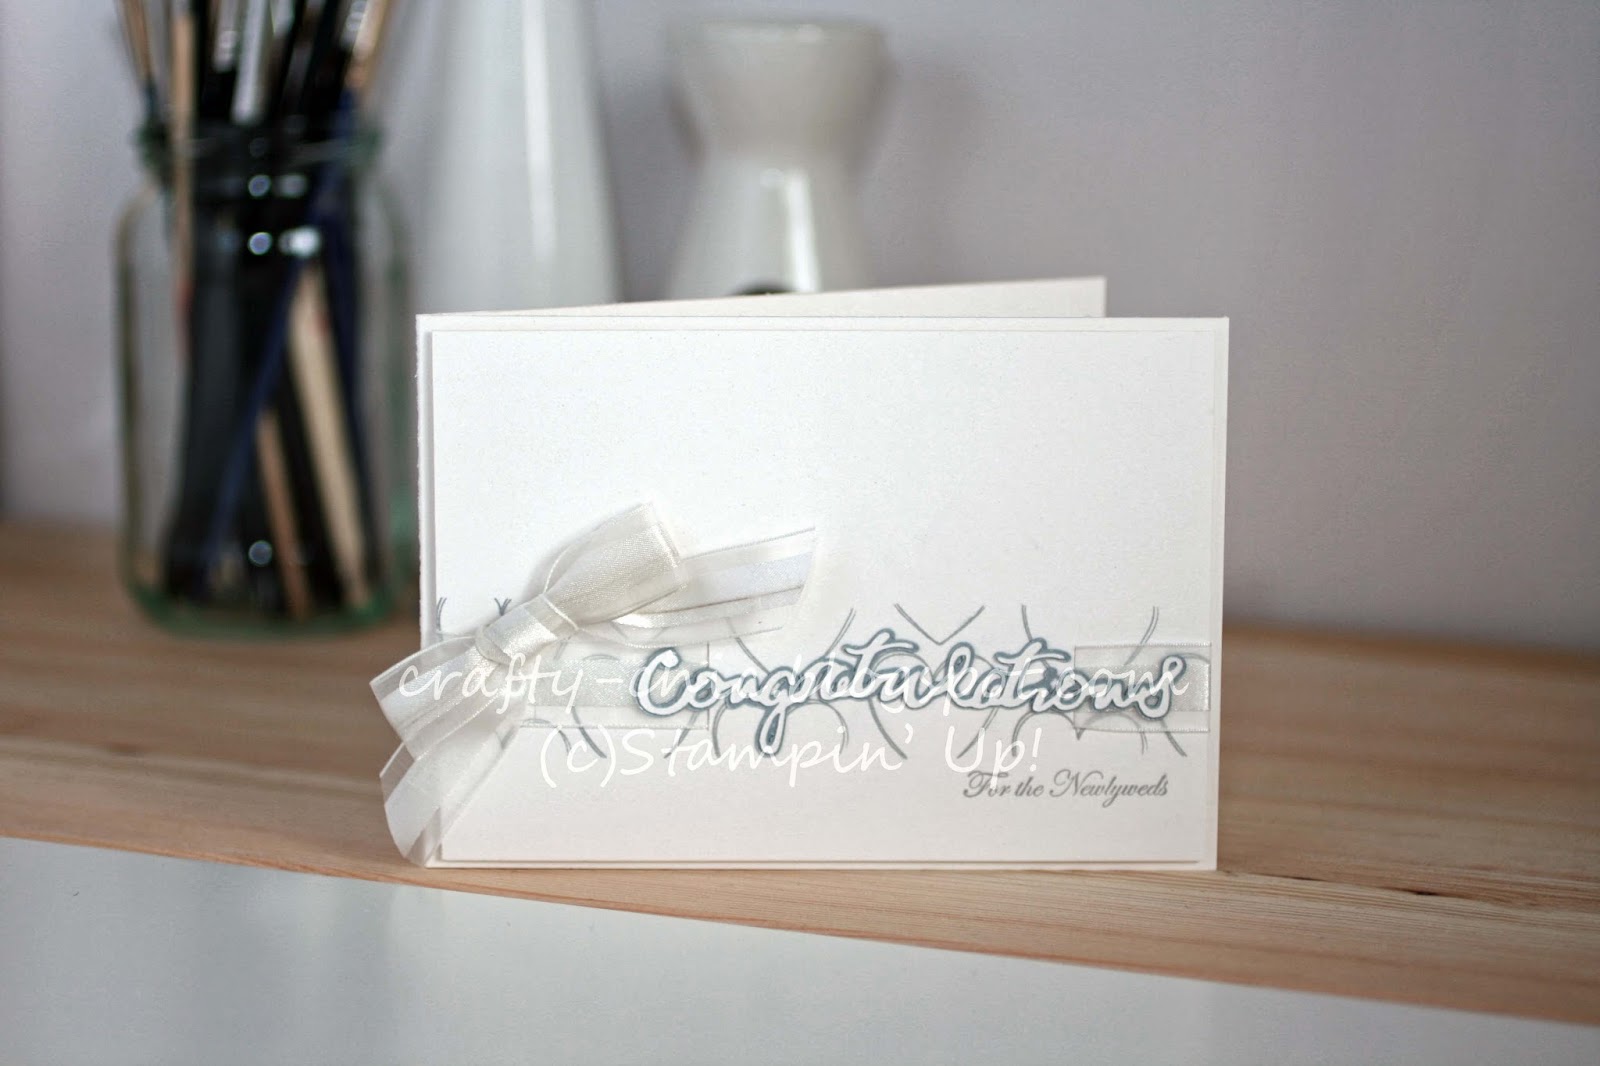

A wedding card made with the hearts a flutter stamp set by Stampin' Up!

This one is on shimmery white card, which is very lush, I've kept the design very simple and fresh. I masked a section on the front and stamped some hearts, from the hearts a flutter set, in silver ink. The "congratulations" was cut on my cricut and the sentiment is from teeny tiny wishes.

Pop up box wedding card from Stampin' Up! Supplies

I really love how this one turned out! It's with the Hearts a Flutter set and some gold ink. I used very vanilla and basic vanilla card. I also added in a few hearts which i punched with the heart punch and then embossed.

An easel card made from the Stampin Up! spiral flower and heart framelits

A heart shaped easel card with 3d flowers

I think I saved the best for last. I had originally planned on doing a small heart shaped wreath, rather than a card but decided instead to make it an easel card. I used the hearts framelits to make the card base, whisper white for the front, as well as the flowers, and i reinforced the front with a piece of chipboard (up-cycled from a weetabix box). The flowers were made using the new spiral flower die from the spring/summer catalogue.

Hopefully the bride will enjoy them as much as I enjoyed making them.

To purchase your supplies to make this or any other project, Stampin' Up! UK


Other projects you may like:


Thursday, 6 March 2014

Inspiration From A Wallpaper Pattern (continued)

The creative juices have really been flowing over the past week and my mind is just buzzing with so many different ideas. 

This is a good thing but it means I keep shooting off in tangents and I'm struggling to get things finished. (Does this only happen to me?)

I have finished all of my cards which were inspired by my Grandmothers wallpaper pattern.


A card made with the Stampin' Up! Oh, Hello Stamp Set

The background for this one was created using the Oh, Hello stamp set and the colours throughout all the cards are Pink Pirouette, Rose Red and Perfect Plum.

This one was the easiest to finish because I did nothing more to it except for stamp the sentiment which is from Sweet Essentials. 

I may have added a few jewels to it but I seem to have misplaced them (oops!). Once I find them I may add a few.

A Card made using the Stampin' Up! Gorgeous Grunge and Butterfly embosslits

This one may be my favourite! 

The background for this one was made using the Gorgeous Grunge set, I masked of the side sections with a post it note to create the border on both sides.

I added the butterflies which I made using the embosslits butterflies die and I just inked the edges with my perfect plum stampin' write marker.

A card with leaves inked across the bottom


I love the texture of these leaves, I created them with a sponge dauber and inked through the negative of the Little Leaves Sizzlits die (I used the positive in the next one). The background was created by inking up 2 clear blocks and stamping directly on the paper.

I also did a little bit of paper piercing with the festive paper-piercing pack and the sentiment was cut out with the labels collection framelits.


A card made with the Stampin' Up Gorgeous Grunge set

I used the gorgeous grunge again for the background and the Little Leaves sizzlits die with a piece of crumb cake card.

I punched out the flowers with Itty Bitty Shapes punch from some silver glimmer paper. I coloured the glimmer paper with a perfect plum marker.

A card made with the stampin' Up! Flowering Flourishes stamp set

I used the clear blocks again for this background and the Flowering Flourishes.

A little sparkle to the flower centres adds a little bit extra something, and I used the Dazzling Details Silver Sparkle.

A card with flowers stamped on the bottom

I used the flowering flourishes again and instead of the clear blocks I inked through some paper with a sponge dauber. For the small shape I cut out a negative using the postage stamp punch.

If I'm being totally honest, I prefer the look the clear blocks give over this effect.

Silver sparkle and glimmer paper again for a bit of bling.

I hope you enjoyed reading about the process involved in creating these cards and if you missed it the first part can be seen here.


6 Card layouts
Wallpaper inspiration part 1


Sunday, 2 March 2014

Inspiration From A Wallpaper Pattern

Inspiration is all around us, maybe even something that we have passed by hundreds of times but never taken the time to see.

I was at my Grandmothers the other evening and my husband called on my mobile. He works away from home and we usually only have the one opportunity in the day to speak. I had to take the call in the hallway, on account of the TV volume being dialled up to 99 (thank goodness it doesn't go any higher, unlike the central heating which seems hotter every time I visit. I think it might make a reptile sweat).

My Grandmother has probably had the same decor in her hallway since I was a teenager, which is quite some time, but I hadn't really given it any attention before. 

While standing in the hallway on the phone I took a good look and liked what I saw enough to snap a quick picture.


As I was looking at it an idea instantly jumped into my head and I knew I had to snap this picture or it would be gone by the time I got home.

I have done this before; seen something that brought an idea to my head so I took a picture, but this is the first time that I've actually done anything about it. All of the other inspiring images are either still on my phone or filed away on the computer somewhere.

While I was looking at the picture I started to make a few quick little sketches with some notes on.


Ignoring how cluttered my workspace is, you can see these are just rough sketches where I've written down all of the ideas as they were coming to me (there were more notes on it by the time I was done but you get the idea).

From my sketches and the original photograph I have now produced six backgrounds!! Still work to be done embellishing and adding sentiments but I think this little snapshot has yielded a few nice ideas.


6 card layouts and their inspiration

I'm still working on the completed cards so come back soon.

You can view the completed cards
Wallpaper Inspiration Continued

Sunday, 23 February 2014

Triple Heart Easel Card

This lovely easel card has three hearts stacked on top of one another for a lovely dimensional card which will fold flat and fit into a standard envelope.


triple easel card, hearts a flutter, stampin' up

The colours are Rich Razzleberry, Old Olive, Basic Grey and Crumb Cake.

The stamps used are from the Hearts A Flutter set and the sentiment is from Teeny Tiny Wishes.


fancy fold, triple easel, hearts a flutter, stampin up

The framelit heart dies were used to form the card base and the co-ordinating Hearts A Flutter framelit's were also used.


Hope you enjoy!


You may also like:

Pop photo album card


Handbag Gift Bag Tutorial

Gift Bag Tutorial Video


I have had a few requests for a tutorial for the Handbag gift Bags.

Handbags made from paper


I have been very lucky recently to get my own dedicated crafting room, rather than commandeering the dining room. The new set up now makes it much easier for me to make videos, Yay!

So I have a video tutorial on how to make these lovely gift bags.


They're very easy to do and lots of fun. Hope you enjoy making your own.

Wednesday, 12 February 2014

Lovely As A Tree Water Reflection In Spring

Brayered Scene of Trees Reflected In the Water


Stampin' Up! lovely as a tree with a reflection in the water


Supplies Needed:
  • Lovely As A Tree Stamp Set, item# 128655
  • Brayer, item# 102395
  • Clear Stampin' Emboss Powder, item# 109130
  • Chocolate Chip Stampin' Pad, item# 126979
  • Marina Mist Stampin' Pad, item# 126962
  • Old Olive Stampin' Pad, item# 126953
  • Stampin' Sponges, item# 101610
  • Neutrals Stampin' Write Markers, item# 131261
  • Brights Stampin' Write Markers, item# 131259
  • Subtles Stampin' Write Markers, item# 131263
  • Blender Pens, item# 102845
  • Whisper White Card trimmed to 143mm*100mm, item# 106549
The stampin' Write Markers can be bought in the full colour family (8 or 10 markers per pack depending upon family), you can buy the full set Many Marvellous Markers (131264) or certain colours are available individually. If you are getting them individually then you could use Real Red (item# 100052), Early Espresso (item# 119680) and Blushing Bride (item# 131265) as an alternative to the colours stated above.

Equipment Needed:

  • Heat Tool , item# 129054
  • Masks made from copy paper
To make the masks, stamp the image on a sheet of copy paper and cut along the line of the landscape.

You can watch me making this card on my You-Tube video.


The supplies for this project can be purchased online, Maria Kitching online store.

Tuesday, 11 February 2014

Feeling Very Stupid

I am having a blond day today.

I'm still not very good at this blogging carry on and I was messing around in my account this afternoon and I have somehow managed to

DELETE ALL OF MY COMMENTS FROM ALL OF MY POSTS BY ACCIDENT

I thought I was deleting the messages I had telling me I had a comment on my post.

Now I feel very silly, I had lots of great comments from lovely people and now I have none.

Let this be a lesson not to mess around with stuff when you have no idea what you're doing.

Friday, 10 January 2014

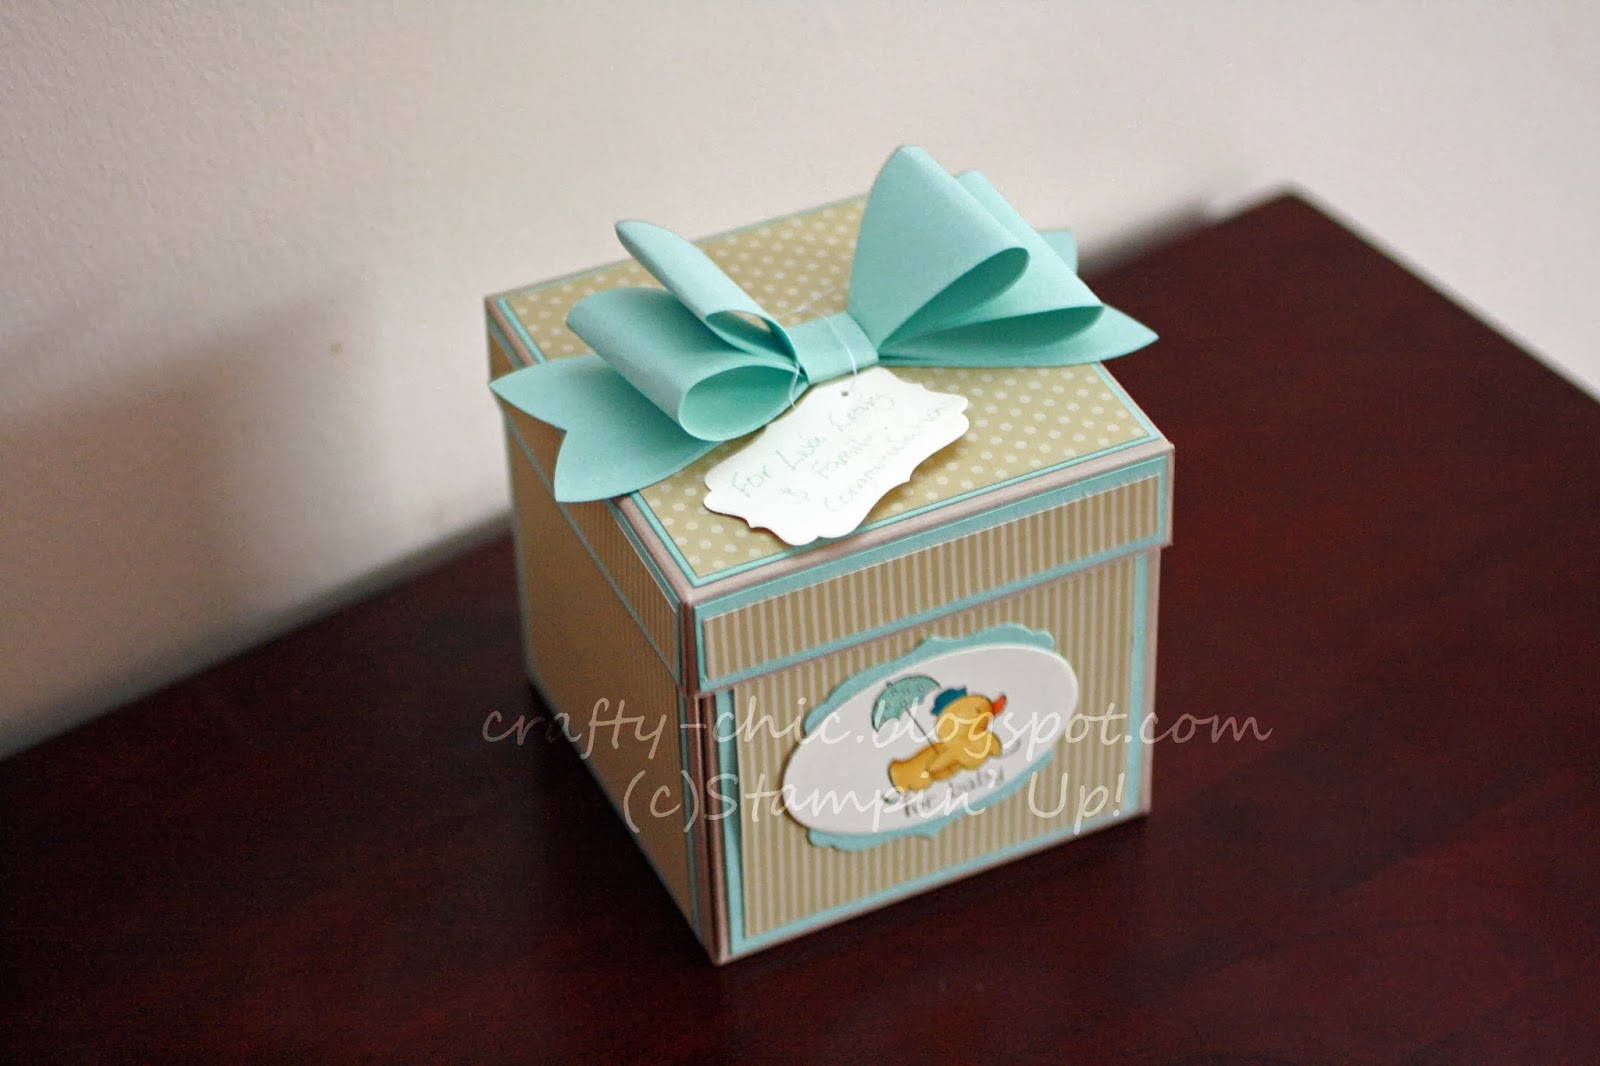
Exploding box

Exploding box keepsake


This cute little box "explodes" when you remove the lid.


Inside I've put a little pair of paper booties, which I made using a free printable template. Which you can find here Booties template.

They were pretty easy to put together and just a little bit fiddly. I used my cricut to cut the shapes and the letters (decided to use that as it's not seen daylight for almost a year and I was a bit short on time) otherwise a nice alphabet stamp would be lovely and a die cut shape. I used up some of my dsp's which have now been discontinued but I have some left so I want to use them.

A nice pool Party bow using the new die finished off the top nicely and the duck on the front is from the easy events set (sadly not a current catalogue item).


There are a lot of possibilities with this and it's a versatile deign which is easily modified to use what you have.

Stampin' Up! supplies can be bought from my on line store Maria Kitching stampin' Up! store

Supplies used:

Gift Bow Bigz L Die, 129977, £28.95
Decorative Label Punch, 120907, £15.50Pool Party A4 Card Stock, 124391, £6.25
Crumb Cake 12 X 12 Smooth Card Stock, 124274, £5.50Labels Collection Framelits Dies, 125598, £22.95Ovals Collection Framelits Dies, 129381, £22.95

Thank you for stopping by!!