Pages

Wednesday 26 March 2014

Button Hole Tutorial


Stampin' Up Heart Framelit Flower


A picture of a paper lily in a glass jar

I'm often asked where my ideas come from and, of course, I'm inspired by lots of different things and different people.

As a crafter (and I'm sure I'm not alone) sometimes I see something I like and I "dissect" it, I think to myself...

"how was that made?"
"I could make something like that if I just ...and I could use..".

This project began a little like that.

I saw someone making paper flowers, they had printed the basic shape from a CD, which is not really my thing,  the basic shape was a heart which started me thinking maybe I could make something similar with the heart framelits.

Convention was coming up soon (it was last November, it's taken me a while to get round to writing this) and I wanted to make some wow swaps for my Stampin' Up team members. I took the idea about the hearts and some inspiration from the button hole my little boy wore at my sisters wedding. 


A cute photo of the bottom of my little boys face.

He was such a cute ring bearer!!

So my idea worked out (they don't always) and I am was pleased with the end result, as was the team, at least I think so.

A great picture of a paper flower

The video tutorial is not one of my best as I haven't made one of these buttonholes since the convention but you should be able to follow it ok.


Supplies Used:

Hearts Collection Framelits Dies 125599
Old Olive A4 Card Stock 106576
Whisper White A4 Card Stock 106549
Daffodil Delight A4 Card Stock 121680
Pink Pirouette A4 Card Stock 116203

All these supplies can be bought at my Stampin' Up! Store, Stampin' Up! Scotland

Other projects you may like:


Sunday 23 March 2014

Exploding Box Tutorial

These boxes make fabulous keepsakes for new babies.


A pink exploding box made for a baby girl


Since it has now become super simple for me to make videos (thanks to my new dedicated craft room) I thought I'd do another.


The lovely little paper shoes are the same as the ones I made for my previous exploding box. New Baby Gift

I decorated the box with lots of embossing as this is a great way of adding interest while maintaining a nice clean look. I used some versa mark with the Happy day stamp set on the shoes which made them look like a  Jacquard fabric.

I made a triple easel card to match, as well, and personalised it with the names of Daddy, Mummy and Baby. Which I thought was a lovely idea (unfortunately not mine).


A triple easel card made from the Stampin' Up heart framelits


I love making these easel cards, perhaps that's an idea for my next tutorial.

To purchase your supplies for this, or any other project, Stampin' Up Scotland.

Blushing Bride 12" X 12" Cardstock 131194
Blushing Bride Classic Stampin' Pad 131172
Beautiful Wings Stampin' Up! Embosslits Die 118138
Boho Blossoms Punch 119858
Adorning Accents Textured Impressions Embossing Folders 125601
Gift Bow Bigz L Die 129977
Language Of Love 133077
Silver Sparkle Dazzling Details 127845
Small Heart Punch 117193
Decorative dots embossing folder (sale-a-braition only)

Hearts Collection Framelits Dies 125599
Happy Day 130297
Hearts A Flutter Clear-Mount Stamp Set 129252
Hearts A Flutter Framelits Dies 130159
Occasions Paper-Piercing Pack 129387

You may like to take a look at some of my other projects.


Friday 14 March 2014

Wedding Cards

For this weeks post I had planned on another video tutorial but the week has been a bit hectic so I haven't had a chance to do the video yet. Instead I will be sharing what I have been busy making this week.

We are off to a family wedding at the weekend so this is my theme for the week.


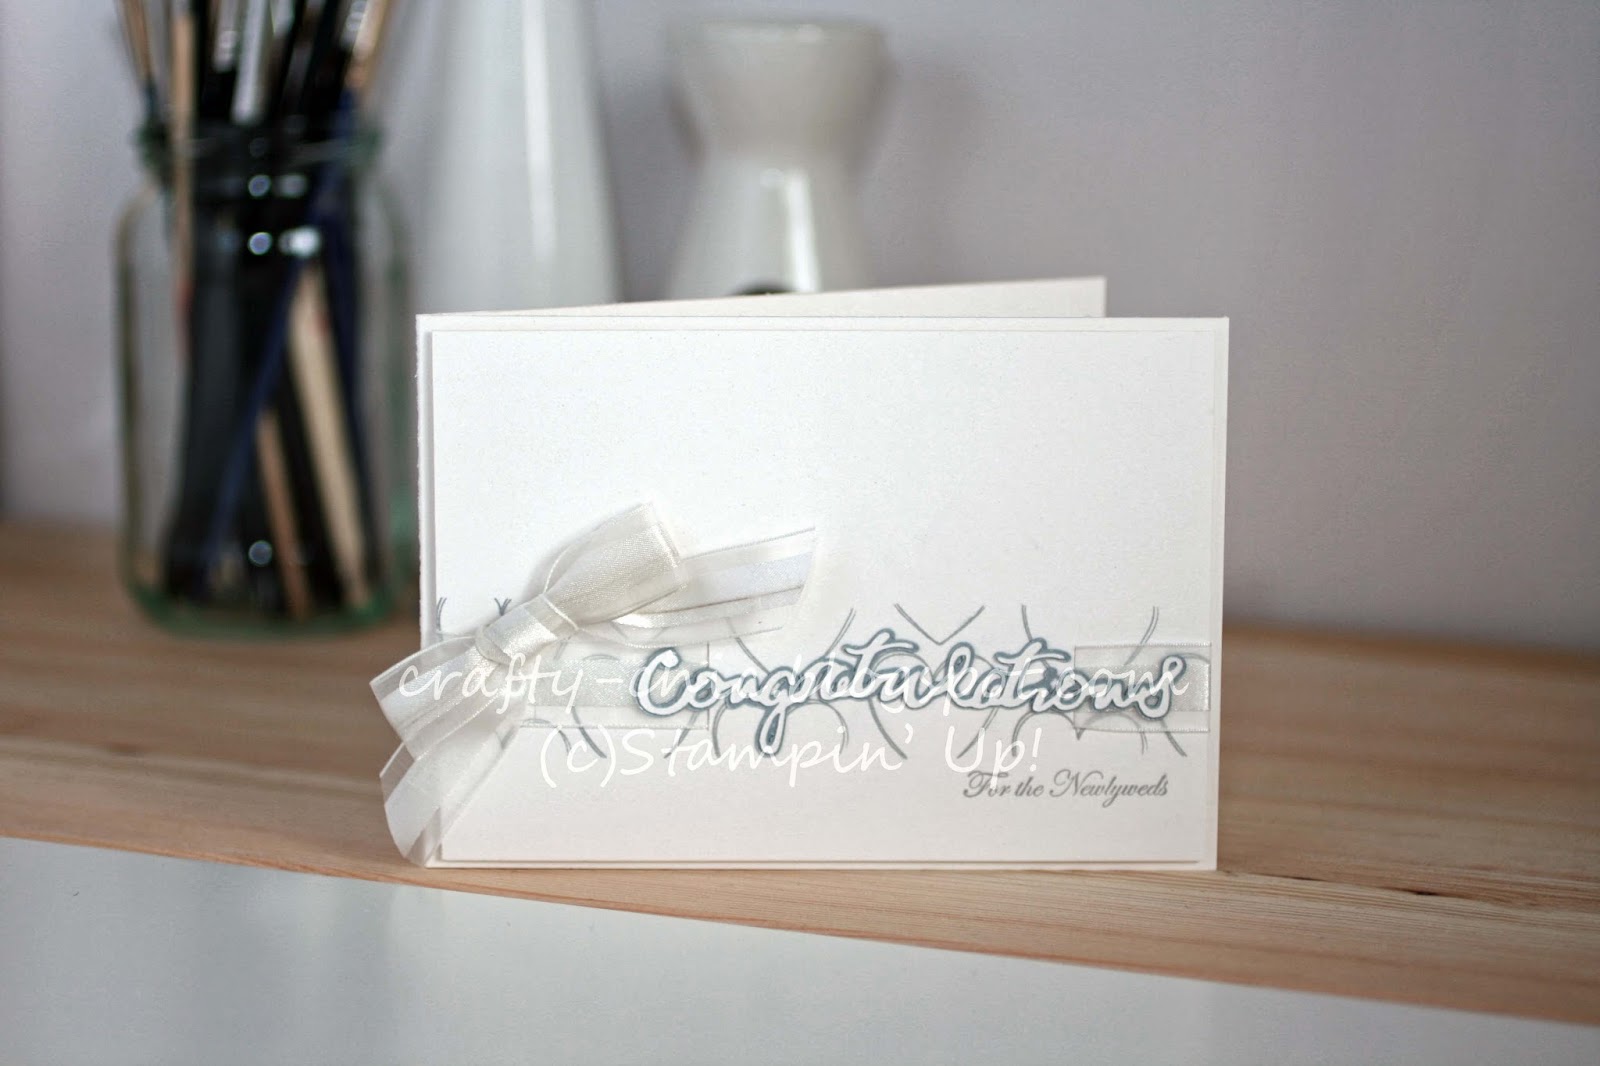
A wedding card made with the hearts a flutter stamp set by Stampin' Up!

This one is on shimmery white card, which is very lush, I've kept the design very simple and fresh. I masked a section on the front and stamped some hearts, from the hearts a flutter set, in silver ink. The "congratulations" was cut on my cricut and the sentiment is from teeny tiny wishes.

Pop up box wedding card from Stampin' Up! Supplies

I really love how this one turned out! It's with the Hearts a Flutter set and some gold ink. I used very vanilla and basic vanilla card. I also added in a few hearts which i punched with the heart punch and then embossed.

An easel card made from the Stampin Up! spiral flower and heart framelits

A heart shaped easel card with 3d flowers

I think I saved the best for last. I had originally planned on doing a small heart shaped wreath, rather than a card but decided instead to make it an easel card. I used the hearts framelits to make the card base, whisper white for the front, as well as the flowers, and i reinforced the front with a piece of chipboard (up-cycled from a weetabix box). The flowers were made using the new spiral flower die from the spring/summer catalogue.

Hopefully the bride will enjoy them as much as I enjoyed making them.

To purchase your supplies to make this or any other project, Stampin' Up! UK


Other projects you may like:


Thursday 6 March 2014

Inspiration From A Wallpaper Pattern (continued)

The creative juices have really been flowing over the past week and my mind is just buzzing with so many different ideas. 

This is a good thing but it means I keep shooting off in tangents and I'm struggling to get things finished. (Does this only happen to me?)

I have finished all of my cards which were inspired by my Grandmothers wallpaper pattern.


A card made with the Stampin' Up! Oh, Hello Stamp Set

The background for this one was created using the Oh, Hello stamp set and the colours throughout all the cards are Pink Pirouette, Rose Red and Perfect Plum.

This one was the easiest to finish because I did nothing more to it except for stamp the sentiment which is from Sweet Essentials. 

I may have added a few jewels to it but I seem to have misplaced them (oops!). Once I find them I may add a few.

A Card made using the Stampin' Up! Gorgeous Grunge and Butterfly embosslits

This one may be my favourite! 

The background for this one was made using the Gorgeous Grunge set, I masked of the side sections with a post it note to create the border on both sides.

I added the butterflies which I made using the embosslits butterflies die and I just inked the edges with my perfect plum stampin' write marker.

A card with leaves inked across the bottom


I love the texture of these leaves, I created them with a sponge dauber and inked through the negative of the Little Leaves Sizzlits die (I used the positive in the next one). The background was created by inking up 2 clear blocks and stamping directly on the paper.

I also did a little bit of paper piercing with the festive paper-piercing pack and the sentiment was cut out with the labels collection framelits.


A card made with the Stampin' Up Gorgeous Grunge set

I used the gorgeous grunge again for the background and the Little Leaves sizzlits die with a piece of crumb cake card.

I punched out the flowers with Itty Bitty Shapes punch from some silver glimmer paper. I coloured the glimmer paper with a perfect plum marker.

A card made with the stampin' Up! Flowering Flourishes stamp set

I used the clear blocks again for this background and the Flowering Flourishes.

A little sparkle to the flower centres adds a little bit extra something, and I used the Dazzling Details Silver Sparkle.

A card with flowers stamped on the bottom

I used the flowering flourishes again and instead of the clear blocks I inked through some paper with a sponge dauber. For the small shape I cut out a negative using the postage stamp punch.

If I'm being totally honest, I prefer the look the clear blocks give over this effect.

Silver sparkle and glimmer paper again for a bit of bling.

I hope you enjoyed reading about the process involved in creating these cards and if you missed it the first part can be seen here.


6 Card layouts
Wallpaper inspiration part 1


Sunday 2 March 2014

Inspiration From A Wallpaper Pattern

Inspiration is all around us, maybe even something that we have passed by hundreds of times but never taken the time to see.

I was at my Grandmothers the other evening and my husband called on my mobile. He works away from home and we usually only have the one opportunity in the day to speak. I had to take the call in the hallway, on account of the TV volume being dialled up to 99 (thank goodness it doesn't go any higher, unlike the central heating which seems hotter every time I visit. I think it might make a reptile sweat).

My Grandmother has probably had the same decor in her hallway since I was a teenager, which is quite some time, but I hadn't really given it any attention before. 

While standing in the hallway on the phone I took a good look and liked what I saw enough to snap a quick picture.


As I was looking at it an idea instantly jumped into my head and I knew I had to snap this picture or it would be gone by the time I got home.

I have done this before; seen something that brought an idea to my head so I took a picture, but this is the first time that I've actually done anything about it. All of the other inspiring images are either still on my phone or filed away on the computer somewhere.

While I was looking at the picture I started to make a few quick little sketches with some notes on.


Ignoring how cluttered my workspace is, you can see these are just rough sketches where I've written down all of the ideas as they were coming to me (there were more notes on it by the time I was done but you get the idea).

From my sketches and the original photograph I have now produced six backgrounds!! Still work to be done embellishing and adding sentiments but I think this little snapshot has yielded a few nice ideas.


6 card layouts and their inspiration

I'm still working on the completed cards so come back soon.

You can view the completed cards
Wallpaper Inspiration Continued