Excuses made, lets get on with the show.
I love projects that begin with a blank piece of paper, full of potential, waiting to be transformed. In this case I've used very vanilla for the front and naturals ivory for the base.
Mask off a section of the card where you will make the collage.
Use versa mark on the frame stamp to clear emboss some patterns for the background.
Use some stampin' Sponges and classic stampin' pads to colour the masked area, I used pool party and pear pizzazz. When done wipe with a paper towel to remove any ink which is sitting on the embossed areas, this ink will not dry so needs to be removed.
Using pool party ink pad, stamp some leaves randomly over the space. Remember to wipe away any residue sitting on top of the embossed areas.
Use pear pizzazz to stamp the circular frame randomly across the space and wipe off any excess.
To add more depth stamp a few of the flowers in basic grey.
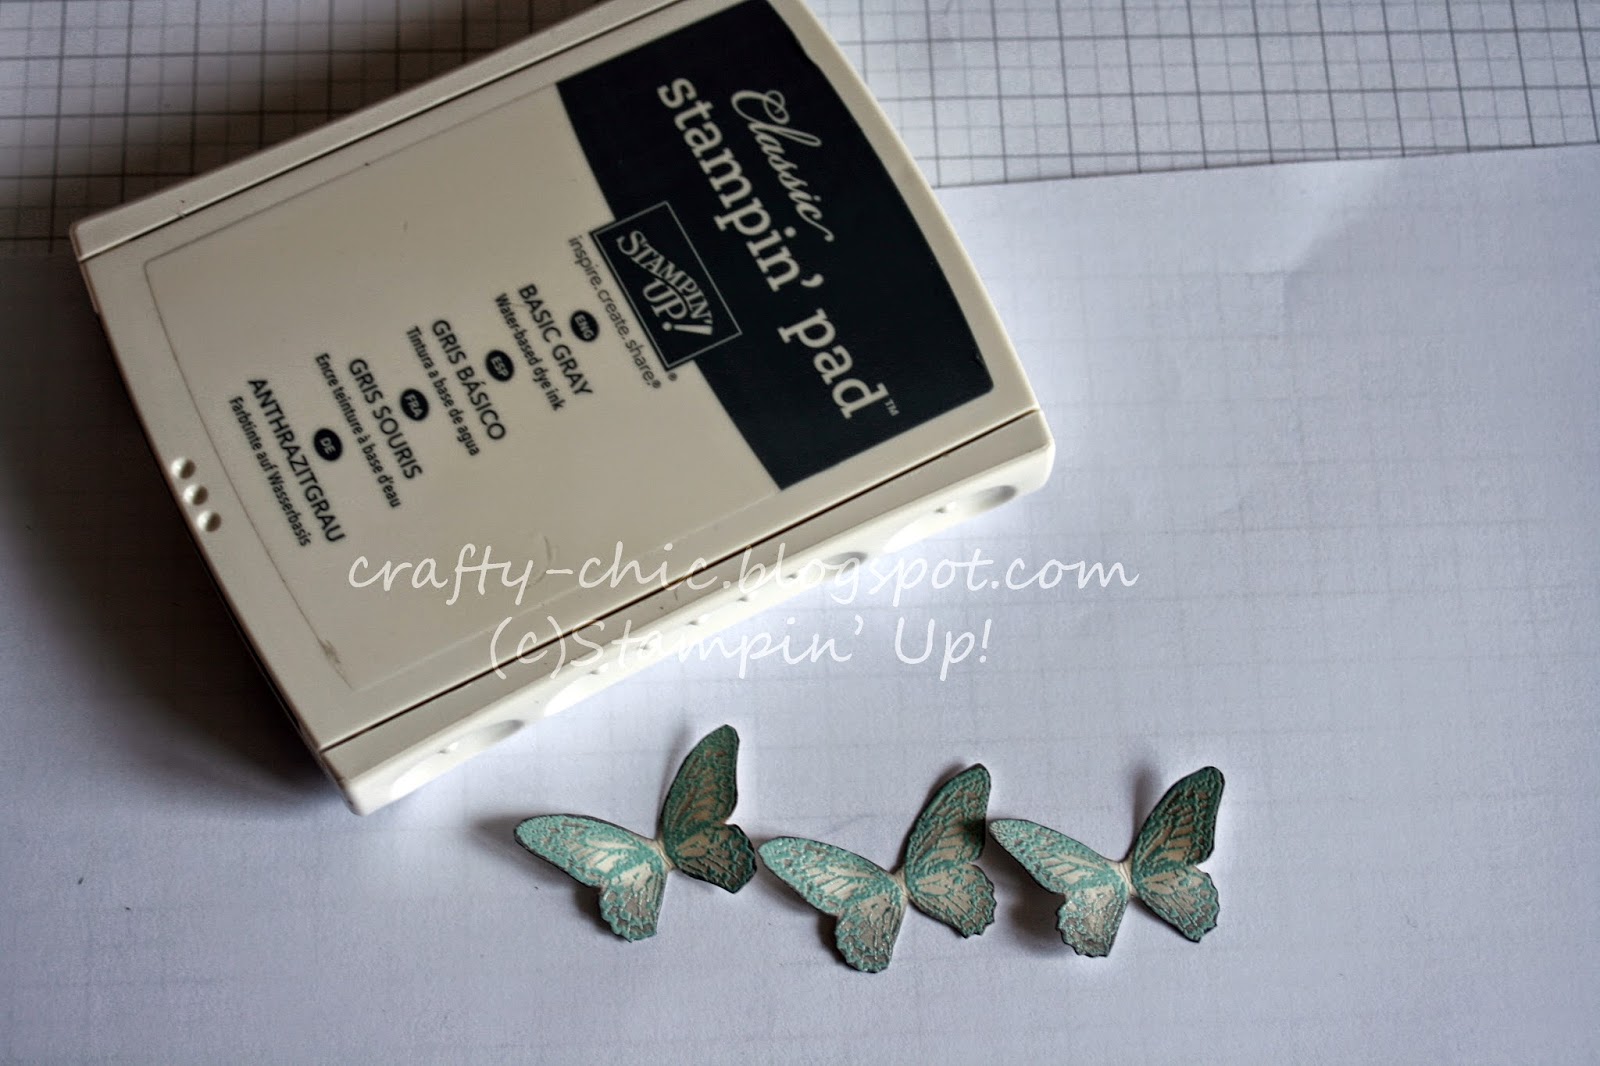
Heat emboss three butterflies with pool party embossing powder and cut round them.
Ink the edges of the butterflies with basic grey ink.
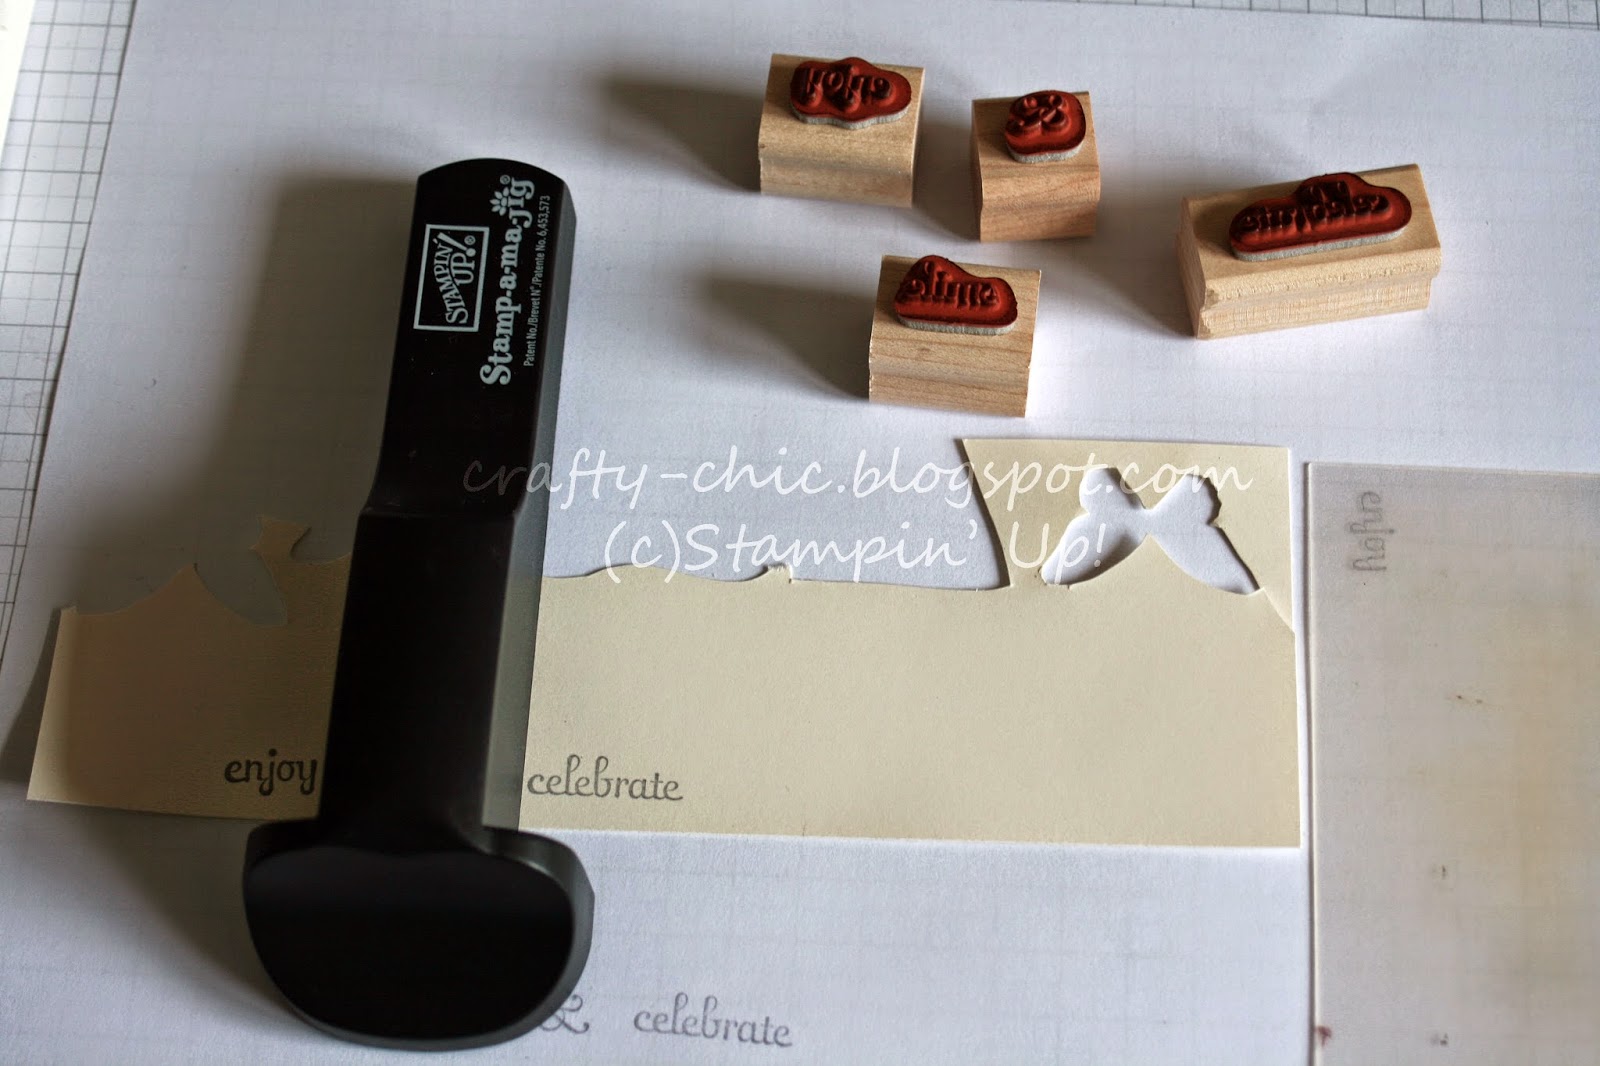
Use fabulous phrases along with the stamp-a-ma-jig to stamp the words enjoy, smile & celebrate in basic grey on a scrap of very vanilla. Trim around the phrase and ink the edges.
Assemble the card and admire your work!!
To purchase the supplies to make this project, Stampin' Up! Online.
Stamp sets
Papaya Collage Clear-Mount Stamp Set 126612
Fabulous Phrases - Clear-Mount Stamp 120501
Ink
Pool Party Classic Stampin' Pad 126982
Pear Pizzazz Classic Stampin' Pad 131180
Basic Gray Classic Stampin' Pad 126981
Versamark Pad 102283
Paper
Very Vanilla A4 Card Stock 106550
Naturals Ivory A4 Card Stock 108630
Embossing Powders
Pool Party Stampin' Emboss Powder 129398
Clear Stampin' Emboss Powder 109130
Tools and accesories
Heat Tool - Uk Plug 129054
Stamp-A-Ma-Jig 101049
Stamping Sponges 101610
Other projects you may like:


love the card very lovely thanks for the product list I do art journaling using stamps always looking for things to use have a great day
ReplyDeleteThank you Robin, thanks for stopping by.
DeleteBeautiful card!!! Love the technique used!!! Beautiful color combo!!! Thanks for playing along with HSS, Diane
ReplyDeleteThanks for stopping by Diane I enjoyed playing along with HSS, gave me a little motivation this week.
DeleteSo beautiful! I love the step-by-step tutorial!
ReplyDeleteThank you Roxy.
DeleteWhoa! Amazing layering! I love watching your steps, You're extremely artistic! I especially love the butterflies, I have that stamp set and had no idea they were so beautiful when stamped and cut. Thanks for playing at HSS! Erika
ReplyDeleteThank you Erika, nice of you to stop by.
DeleteOh my goodness, that card looks so pretty! I'm stopping by from the blog hop & I liked ya on Facebook. Your blog is great!
ReplyDeleteThank you Leslie.
DeleteWhat a super cool technique.... so vintage-collage-ish... Love the colors you used... Thanks for sharing your awesomeness!! :)
ReplyDelete“hugs” Crystelle
Crystelle Boutique
Thank you for stopping by Crystelle and taking the time to comment.
DeleteBeautiful card! I love the collage and colors...you did a great job with the sketch! Thanks for playing along with us at HSS!
ReplyDeleteThank you It was the first time I've done the challenge and I enjoyed it.
DeleteGORGEOUS! I love the technique, the instructions and the colors you chose! Great use of the sketch, too! Thanks for joining us at HSS!
ReplyDeleteHi Krista, thanks for stopping by I was really pleased with how the card turned out.
ReplyDelete