Pages

Showing posts with label stampin' up. Show all posts

Sunday, 23 February 2014

Triple Heart Easel Card

This lovely easel card has three hearts stacked on top of one another for a lovely dimensional card which will fold flat and fit into a standard envelope.


triple easel card, hearts a flutter, stampin' up

The colours are Rich Razzleberry, Old Olive, Basic Grey and Crumb Cake.

The stamps used are from the Hearts A Flutter set and the sentiment is from Teeny Tiny Wishes.


fancy fold, triple easel, hearts a flutter, stampin up

The framelit heart dies were used to form the card base and the co-ordinating Hearts A Flutter framelit's were also used.


Hope you enjoy!


You may also like:

Pop photo album card


Friday, 10 January 2014

Exploding box

Exploding box keepsake


This cute little box "explodes" when you remove the lid.


Inside I've put a little pair of paper booties, which I made using a free printable template. Which you can find here Booties template.

They were pretty easy to put together and just a little bit fiddly. I used my cricut to cut the shapes and the letters (decided to use that as it's not seen daylight for almost a year and I was a bit short on time) otherwise a nice alphabet stamp would be lovely and a die cut shape. I used up some of my dsp's which have now been discontinued but I have some left so I want to use them.

A nice pool Party bow using the new die finished off the top nicely and the duck on the front is from the easy events set (sadly not a current catalogue item).


There are a lot of possibilities with this and it's a versatile deign which is easily modified to use what you have.

Stampin' Up! supplies can be bought from my on line store Maria Kitching stampin' Up! store

Supplies used:

Gift Bow Bigz L Die, 129977, £28.95
Decorative Label Punch, 120907, £15.50Pool Party A4 Card Stock, 124391, £6.25
Crumb Cake 12 X 12 Smooth Card Stock, 124274, £5.50Labels Collection Framelits Dies, 125598, £22.95Ovals Collection Framelits Dies, 129381, £22.95

Thank you for stopping by!!

Tuesday, 30 July 2013

Brayered Christmas

A brayered winter scene Christmas Card

This lovely Christmas scene was done using my brayer the lovely as a tree stamp set from Stampin' Up!


I love how it turned out and I made a little how to video which you can watch.


I used midnight muse for the background and chocolate chip for the tree. I used the glossy card stock, which sadly we must say goodbye to. It would work well with whisper white also.

Here is a closer look at the card.


If you want to buy the products to try this one out for yourself please contact me marianardone.mn@gmail.com you can also visit my site Maria Kitching Stampin' Up! where online ordering will soon be available. Woop! Woop!


Wednesday, 19 June 2013

Bottle Tag

Wine Bottle Gift Tag

So my exam has passed, and hopefully so have I!

I just have to catch up on everything else that I put on hold so I can get some extra study time.

The boys nursery are having a fun day next week and they were asking for donations for a bottle stall and this seemed like a good time to get the ink out.


So I made this quick thank you gift tag to go along with it.

The colours are pool party and whisper white and it has a little brad and some linen thread.
Stamps used were hearts a flutter, En Francais and I also inked up a clear block too and added a few drops of ink. 
The 1 3/4" circle punch made the hole in the top so it hangs nicely over a bottle.

Friday, 26 April 2013

Blackboard Technique For Masculine Cards

Feeling Sentimental


The boy's nursery have asked me if I'd like to have a stall at the nursery fun day. So I was looking over what cards I have, trying to plan what I might like to make, and I have hardly any male cards.

I always find male cards so much more difficult to design and I know lots of other crafter's that say the same thing.

Feeling Sentimental, stampin' Up, blackboard technique, handmade cards, heat embossing


I was also shown the blackboard technique a few weeks ago at our Stampin' Up! Team Meeting and I've been itching to try it again. I love when I see a technique that I like and I actually have all the supplies I need so I can try it straight away.

Feeling Sentimental, stampin' Up, blackboard technique, handmade cards, heat embossing

I hope you like this one.

Friday, 15 March 2013

Summer Silhouettes

stampin up, summer silhouettes, handmade card

This card was really easy to make. The colours are midnight muse with pool party, whisper white and natural white.

stampin up, summer silhouettes, handmade card

A bit of paper piercing and embossing with the polka dot embossing folder just adds that little bit more.

Monday, 28 January 2013

Make your own wedding invitations

Wedding Invitations


wedding, heart, stampin up, valentine

Summer time is the preferred season, here in Scotland, to get married. Most of us Scots much prefer the warmer weather.

If you are having a summer wedding then now is a good time to start thinking about your invitations.

Have you considered making them yourself? It may be easier than you think.

Stamping is a great way to get a very good result with, dare I say it, very little skill. Stampin' Up! range of products make getting a professional finish very easy to achieve just by matching or co-ordinating your ink, paper and accessories your wedding invitations will look and feel professional and luxurious.


You could even hold a stampin' Up! event at home and use your hostess benefits toward the cost of your supplies.


Contact me today for more information marianardone@hotmail.com

Saturday, 24 November 2012

Friend Card

This is a lovely cheerful card perfect for a friend that needs a little lift.


It's nice to give cards for no particular reason at all, just as it's nice to receive a card for no reason at all but to make you feel special or cheer you up.


These really simple brayered cards are ideal and very quick to make.

Choose your colours


You want colours that are differing shades some light and some dark and colours that will compliment one another and create the feel you want to achieve. Remember that anything with red in will jump to the foreground.

Choose your stamps


You want a variety of stamps, some which are line images and some which are bolder, filled in images or blocks.

The video shows how to use the brayer to create the background.


Saturday, 17 November 2012

Minimal Card

Keeping this card simple was really difficult!


This card has very little on it or to it and I really wanted to keep doing more but I think it seems simple and stylish.

I did feel it needed something so a few of the little flowers I touched up with crystal effects and I added a few pearls to the corner.


This is the summer silhouettes stamp set which was a giveaway at the Stampin' Up! convention.

Wednesday, 10 October 2012

Quick And Easy Christmas Card

A Quick Embossed Christmas Card


Christmas Card, Stampin Up, Scentsational Season, Embossed Card

Quick Christmas Card

This card has been both heat embossed, with the peppermint scented embossing powders, 127830 £4.95. As well as dry embossed with the 'Holiday Frame' embossing folder, 127820 £7.50. The scentsational Season bundle was used which includes the stamp set and framelits dies, 129946 £28.95 (clear mount).

All products above are from the Autumn/Winter catalogue which is launching September 1st.

Additionally Whisper white card stock, 106549 £7.50, lucky limeade ink, 122935 £4.95, and Teeny Tiny wishes stamp set, 115370 £32.95.

Saturday, 22 September 2012

Penguin Wedding Invitations

Stampin' Up! Owl Punch Wedding Invitations


The owl builder punch was used to make these lovely winter wedding invitations.


The gate fold card was scored from basic black card stock, using the simply scored scoring tool and the metric scoring plate.

For the background whisper white card stock was put through the paper crimper and basic black card was layered on top after having been embossed with the vintage wallpaper embossing folder.


Brushed silver and whisper white card were cut with the Framelits labels collection and used to frame the penguins.

The penguins are punched, with the owl punch, and transformed by cutting off the ears.

Supplies used:
- Basic Black card Stock, item 121688, £6.25.
- Whisper white card stock, item 106549, £7.50.
- Brushed Silver card stock,  item 124918, £7.50.

Tools Used:
- Paper Crimper, item 101618, £21.50.
- Sizzix Big Shot, item 113439, £87.95.
- Vintage wallpaper embossing folder, item 120175, £6.95.
- Framelits labels, item 125598, £22.95.

Thursday, 6 September 2012

Gift bags

These are very cute little handbag gift bags


I love making these because they're really simple but look great. They make excellent gift bags or a nice little holder for some note cards.

handmade gift bags, stampin up, patterned papers


Still using up my Everyday Enchantments Designer Series Paper.


Update:
I have added a video tutorial for hot to make these lovely gift bags. Gift Bag Tutorial

Sunday, 12 August 2012

Triple stamped card

Triple Stamped Technique


Had a go at a triple stamped technique on this card. Calypso coral and whisper white card and ink. Mixed bunch stamp set.


triple stamped card, stampin up mixed bunch, stampin up, flower, handmade card
Triple Stamped Card


Saturday, 28 July 2012

Pop Up Photo Album Card Tutorial

This album has some photos from our recent family vacation to Florida. I haven't been able to find the time recently to do a vacation scrapbook so I thought a nice alternative was to do a mini album. This would also make a great card.


Supplies needed:
- Daffodil Delight, 2 sheets of A4 and 1 A5.
-Tangerine tango, A4 card stock, 1 sheet.
-Real Red, A4 card stock, 1 sheet.
-9 photos.
-Big top Birthday quick accents or other similar embellishments.

Forming the Central Panels

  • Take 2 sheets of Daffodil Delight and trim (the long edge) to 148mm (this will be marked on your trimmer as A5).
  • Score at 105 mm (half fold A5) and 210 mm straight through from top to bottom. 

Creating the pop up pages

  • Next make a small score, about 2cm long at 52.5mm (gate fold A5), on top and bottom. This will be the pop up fold line.
  • Crease the 210mm score line (made in previous step). Butt this edge against the side and make 2 small score lines, at 52.5mm, about 2cm long at both top and bottom. This will also be a pop up fold line.


  • Now we want to score the cut line. There are 2 cut lines, one on the top and the other on the bottom.
  • We already have guide marks, from the previous steps, the pop up fold line shows where the cut lines begin and end. We will use the 26mm channel, on the simply scored board. (If using another score board you can choose an appropriate score line).


  • Place the card on the scoreboard and fold one panel up (as in picture), look over the top, of the folded panel, to judge when the scoring tool is in the correct channel. 
The metric scoring plate is great here, because there aren't as many channels you can find the right one easily. 

  • Score the line and stop when you are level with the guide marks.
  • Rotate the card again and score the short 'guide' score lines till they meet the 'cut' line. You may have to do this a few times until the meet up nicely.

(You could just score the pop up lines all the way through. You could cover the crease with some decoration or embelishment)


  • Repeat the previous steps for the other edge and then cut, both lines, with a knife. Burnish all of your score lines and fold into the correct shape.

The central panels will fold to give one peak and one valley. The narrow strips at the edges will give fold to give two peaks and two valleys.


Forming The End Panels


  • Cut the Tangerine Tango into two A5 sheets.
  • Make a score line at 52.5mm. Rotate 180 degrees and score again at 52.5mm. (Same as a gate fold card)


  • Burnish the score lines and fold to give one peak and one valley.
  • Do the other sheet in the same way.


Assembling the Card


  • The finished card will be symmetric and the two central panels will fit together on an A5 sheet. This is shown below.


  • The Tangerine pieces go on the outer edges of the Daffodil pieces, the edges of the daffodil delight card stock will be on show so we want to decorate these. I used the big shot to emboss this, the embossing folder didn't reach the full length. To fill the gap I lined up the embossing folder with the existing pattern and used my scoring tool to dry emboss the remainder by hand.
A border punch on the edge would also work well.


  • Glue the two daffodil delight sections, centrally, to an A5 daffodil delight sheet. Disguise the seem, I used a paper ribbon from the Big Top Birthday, Quick Accents.


  • Glue the tangerine tango sections to the daffodil delight sections.


  • Now it's time to decorate.


Monday, 16 July 2012

Personalised New Baby Card

Cute little new baby name card


This was a card for my friends little girl that I personalised with the Varsity Alphabet set and the little owl was made using the owl builder punch.

The background is from the nursery nest designer series paper which is always handy for making a ready made background for a quick card.

Monday, 9 July 2012

Trinket Box


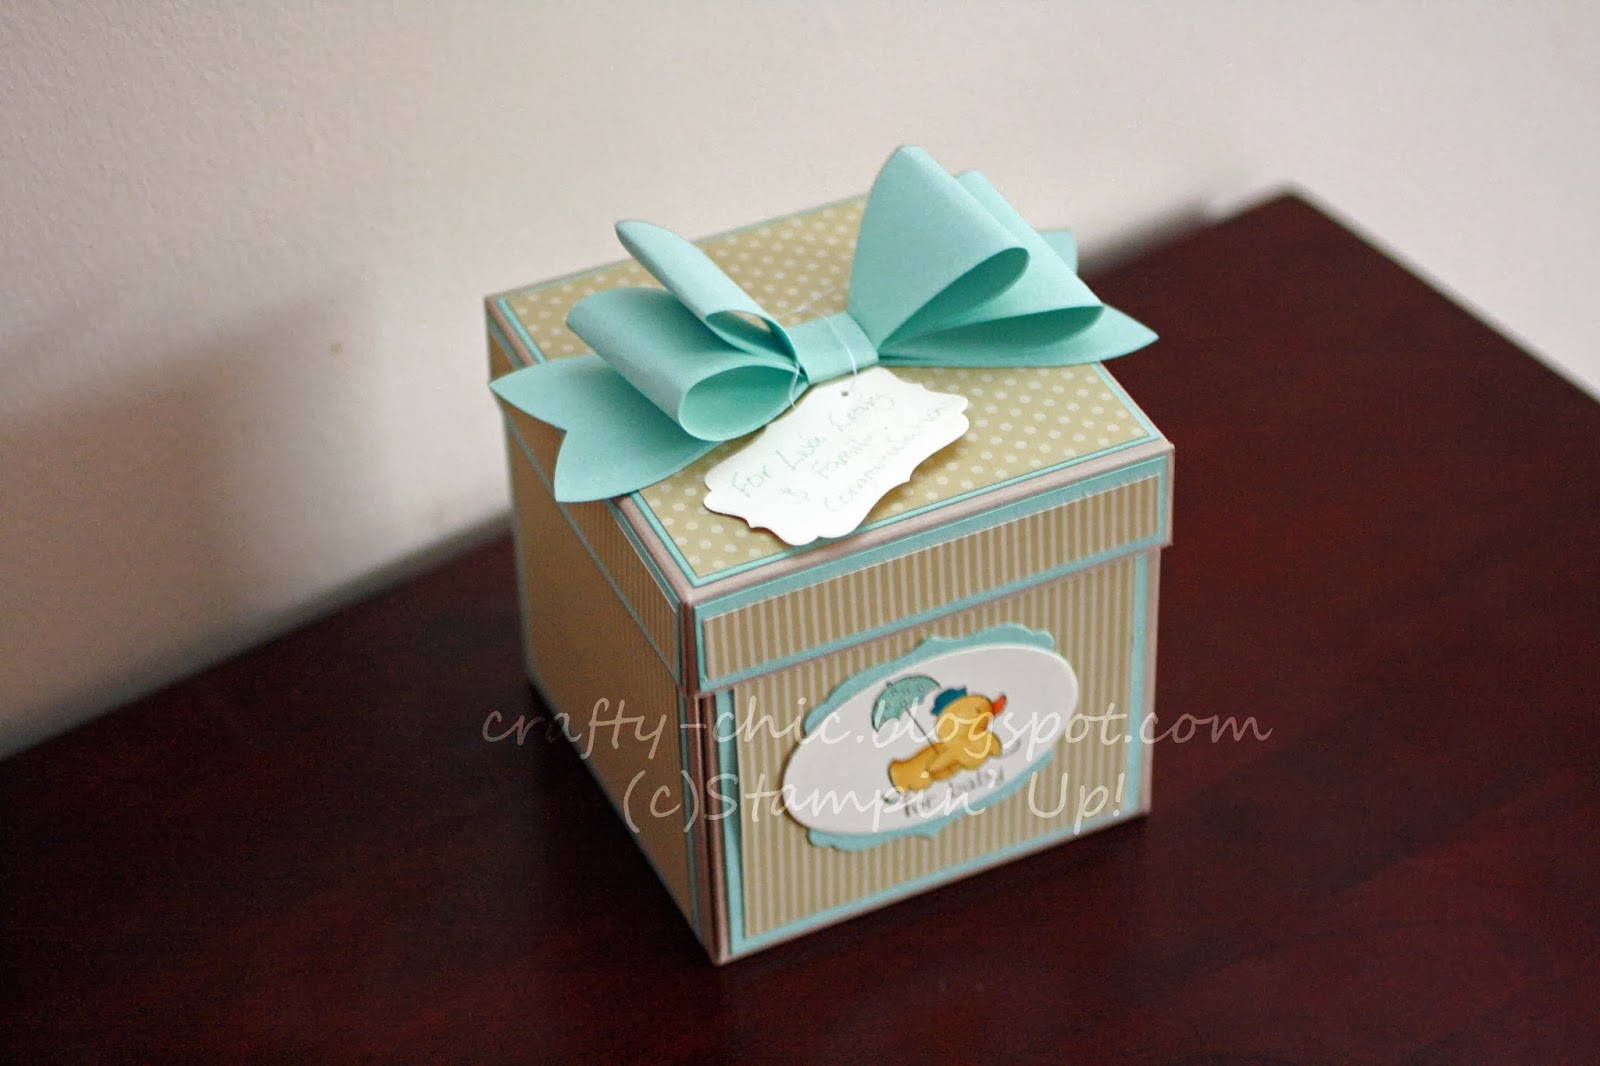
This little trinket box is full of surprise!

I seen something similar while surfing the net a while ago and decided to give it a go myself.


I made great use of my new simply scored board and some designer series paper that I got back in February for sale-a-bration. 

These paper, Everyday Enchantment, have just been re-released as well and the new current promotion gives a matching brad and ribbon pack for a £45 spend. The papers are also available for purchase while stocks last.

I wish I'd put some designer series paper on the inside too as it would have given me a nicer finish. Next time!

Supplies used:
-In colour card stock, 12x12, 124328, £8.75.
-Everyday Enchantment Paper, 126154, £9.95.
-Brads, In colour designer printed brads, 122940, £7.25.

Tools Used:
-Simply scored, 122334, £25.95.
- Fancy Flower punch, 118073, £15.50.